Converting TC Electronics Pedals to Work With Eurorack (Including CV control)

I present these ideas as unproven and unfinished ideas. 
I've got a lot of stuff coming up and won't have the time to test this out fully, but I wanted to jot everything down and hopefully inspire others to try before I have a chance. 
Also, I have only tried this out with a Ditto. I have a Hall of Fame mini on the way and hopefully can test it out on that. I am suspecting that the construction and board layout is similar. 

After removing the 4 security screws under the rubber feet, you can take the bottom off. You'll then need to remove the nuts from the 1/4" jacks and the knob to fully take apart the pedal. After you do that, you will have 2 PCBs that connect via a 14-pin header as shown below. 


To add CV control over the knob, unsolder the pot. As shown in the picture above, the pads are for the 3.3V, wiper, and ground. 
You can replace the pot with something like the following circuit.


Using the switch in the jack, we can set the input to the default 3.3V. The pot acts in the same way as the pot on the device originally acted. The resistor and the zener limit the voltage to 3.3V so a CV of 10V with the potentiometer set to maximum would get cut down to 3.3V and nothing will get fried. In this case, the potentiometer acts as an attenuator for the CV.


On the underside of the PCB, we have the pads for the LED. I recommend removing the LED and replacing it with one on your panel panel so you can see what is going on. 


Another consideration is the USB jack. It would be great to have this accessible for any of the TonePrint capable effects so you can tweak the effect parameters with your computer or iOS device. My recommendation for this is to take a mini USB cable and cut it. Then get a female USB B jack that is panel mountable like the one below. Wire up the mini USB cable to the jack with the shortest wiring possible while preserving as much of the shielding as possible.


The back of the bottom board has the majority of the important connections. 


Starting off with power, we need to supply the boards with 9VDC. TC's website and manual says they require 9VDC at 100mA. I haven't risked giving them 12VDC to see if they still survive, but let's assume they don't. You'll need to knock the 12V down to 9V. Something like the snippet below will do for filtering the power from Euro and knocking the +12V rail down to 9V. I am sure you can find a better way to do it. I'd remove the barrel jack so you can fit everything in a bit better.


Remove the audio jacks. The 'switches' on them will prevent audio from passing without a cable plugged in. Wire up your 3.5mm jacks to the pins in the picture above. In to the in jack, out to the out, and the grounds.  

The signals will have to be attenuated to work with synth levels. To do this, I'd use Ken Stone's Stomp Box Adaptor circuit. I'd replace the voltage divider on the input with a potentiometer so you can adjust the input level if desirable. 


Next is the switch to enable/disable the effect, or in terms of the Ditto, record/play/ect. To deal with this, I recommend a Maxim DG418 analog switch.  It is, essentially a SPST switch in chip form. The IN pin takes in the gate signal that engages the switch when the pin is driven high. I recommend also adding a momentary pushbutton in parallel so you can operate the switch manually when you don't want to use a gate. This is beneficial in the case of the Ditto where you'd want to manually control the deletion of the loop recorded. 


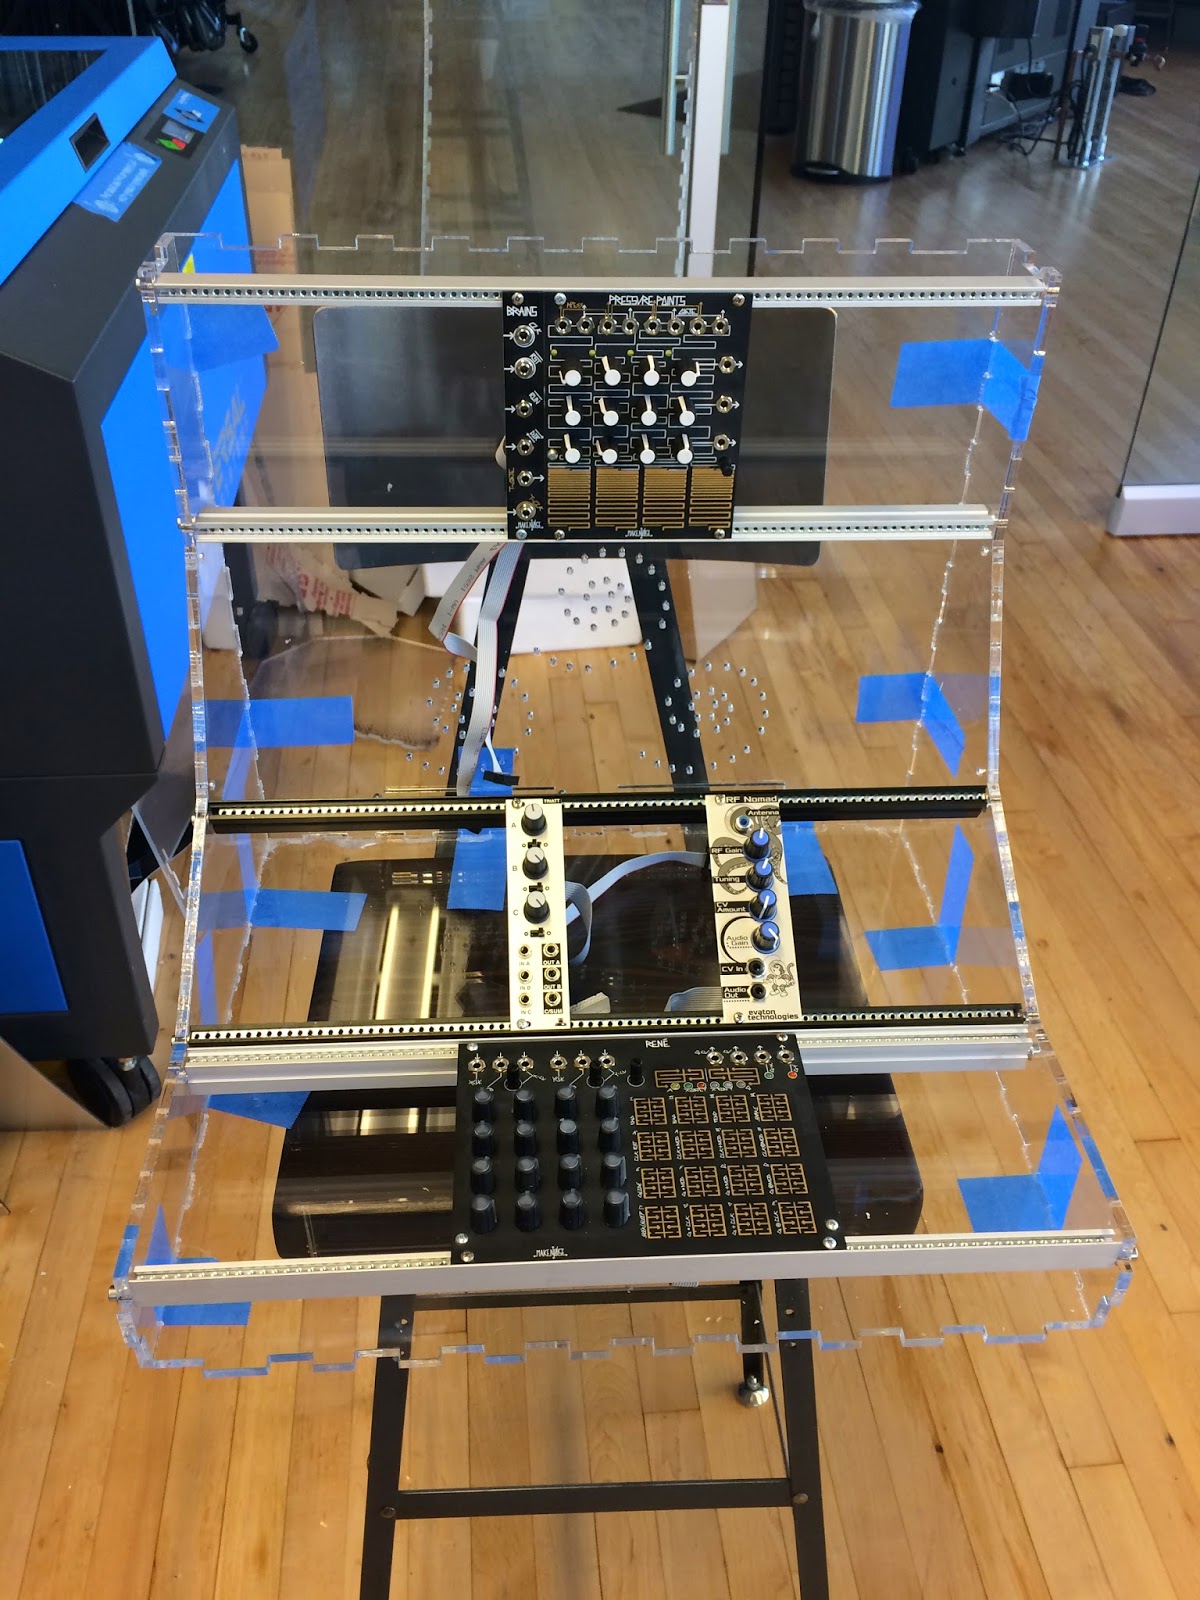
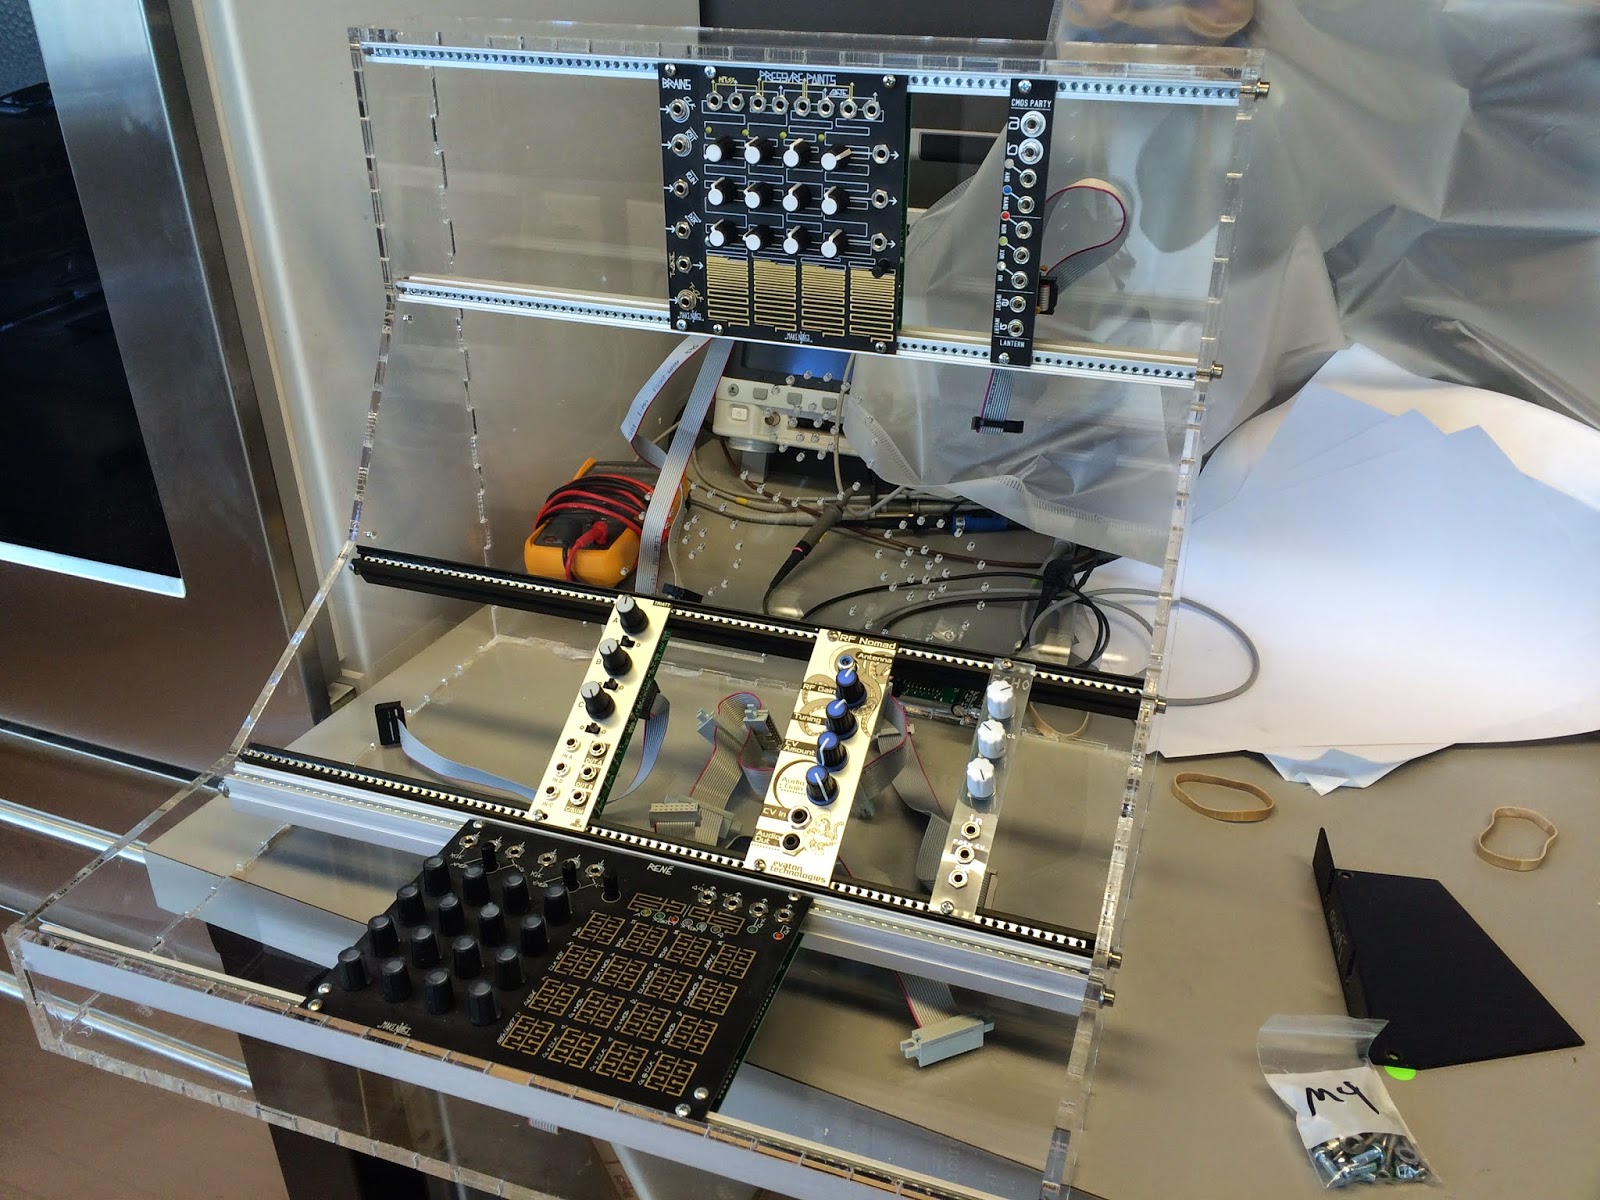
The biggest reason I haven't fully pursued this is my weakness for my mechanical design. How should the PCBs be mounted to fit on a Eurorack module?


Inside the Korg SQ1

The $99 Korg SQ-1 sequencer is a really cool little box that leaves us all desiring a little more. I popped it open to get some pictures of the insides to start thinking of possible modifications.

Nothing immediately interesting on the back of the main PCB.


 The device runs off a Cypress Spansion FM3 32-bit ARM processor, much like the Electribe 2. Since most of the sequencing work is done in the processor, it would be difficult to do any mods that effect the sequencing.


Satie

Threw together some quick and simple tunes from Erik Satie.
Pulled MIDI files into Ableton and routed the MIDI to the Prophet and the Eurorack. The rest was just sound design. 

The Gymnopodies use the Mutable Instruments Elements as the lead, STO via Optomix for the bass, and the Prophet '08 does the rest:

The Prophet '08 is doing the same duties in Le Piccadilly, but with a different patch. The lead was done using the STO and the Pittsburgh Waveforms (2 octaves higher). They both have separate AD envelopes and go through the Optomix.

Big Freedia Died For Our Synths

Korg Electribe 2 Teardown

My Electribe 2 might just be my favorite piece of gear. It is now the center of my 'Battlestation'. It has allowed me to stop using my computer and rely on it to control my synths. I connect the USB from the Electribe 2 to a USB hub connected to my iConnectMIDI4+ and it can control all my synths at the same time. Just set each synth to a different channel and you are in business. 
Currently, the Electribe via the iConnectMIDI4+ controls my Eurorack (via Yarns), Prophet '08, Minibrute, MS-20 mini, and Slim Phatty. I also connected my Korg M50 keyboard to the Electribe to use as a master keyboard controller. With this setup, I can record MIDI data to the Electribe via the M50 and play it back to any of the other synths. 
The sounds in the Electribe aren't too bad, but I usually end up relying on the sounds of my other hardware synths. The only time I use all internal sounds is when I am out of the house and using the Electribe via battery power somewhere. I've taken it to the beach and had a fun time watching the waves and programming a surf rock type song. When I got home, I connected the Electribe back to my setup and ditched the internal sounds for analog sounds while still using the MIDI sequencer. All in all. I love it. 

As with the rest of my gear, I just had to pop the Electribe open incase there were some interesting patch points and for just learning about their manufacturing technique. The Electribe was quite easy to open and can be easily repairable.

The knobs come of quite easily. The back unscrews and comes off without a problem. Note that there is a screw in the battery box too. 

There are 3 PCBs in the Electribe. The one directly below is the brains of the operation. The other PCB is the control PCB with the knobs and buttons along with a small jack PCB for the 1/4" jacks.


 After removing the main 'brain' PCB, you can see that it packs a good amount of power.
The DSP used is a Blackfin by Analog Devices and packs a good amount of arithmetic power. Compared to the Sharc DSP used in Strymon gear, the Blackfin is quicker with it's functionality due to it's multiple ALUs and faster clocking (300MHz vs 50MHz), although the Sharc excels in floating point math.
The main processor is a Texas Instruments Sitara Processor (AM1802) ARM9 processor which can pack a heavy punch. The other large chip towards the top of the picture is the SK Hynix SDRAM for the TI ARM9.

 An Analog Devices Quad Buck Regulator (ADP5052) is used in the power supply section.

Flex PCB coming out from the screen connecting to the 'brain' board.

 PCB for the 1/4" jacks.

The button/knob board contains a Cypress (formerly Spansion) Cortex M3 based processor. This chip has 12 channels of 12-bit ADCs, which makes me think it handles all the sampling of the knobs and buttons so relieve the TI chip from some of it's duties.


 The screen and touch panel are definitely repairable; they are loose once you remove the button/knob board.


Scoping and Analyzing a Eurorack Patch

I've used the Saleae Logic analyzers at my past 2 jobs and fell in love with them and their all too simple software. After my experience in an EE lab at Georgia Tech where we used a monstrous Windows based logic analyzer that took 15+ minutes to set up, the Saleae was a breeze. 

After following along with the Pro 8 and Pro 16 releases, I've been lusting after a Pro 8. Up to 8 channels that can be both analog and digital?! Count me in! 

I drove down to the Saleae office in South San Francisco and purchased my Pro 8 from them. Cool guys with a cool product.

I hooked it up to some of our work boards and had the necessary measurements in a couple minutes. Easy peasy.
Besides work measurements, I've been waiting to hook up a Pro 8 to my synths and get timed out analog readings. 


I made a simple patch that ran a clock into René, René's QCV out into an STO. STO sine out into an MMG and out to a mixer. The clock also went to a PEG which created a triangle envelope to control the MMG.
Below is the recording of the clock, QCV out, envelope, and audio output.


I then decided to get a bit more exciting with the patch and slowly modulated PEG's Divide, Skew, and Curve to get some 'cooler' looking envelopes and audio outputs.


Overall, I think it's as cool as I expected. Everyone scopes the audio and envelopes with O-Scopes, but I haven't seen a completely logged patch. 

More to come!


Extracting The Bass Line

Made a patch after being inspired by today's Make Noise patch about using the S-gate in the STO and the HANG on the Function.


Original Make Noise video:

Custom Laser Cut Eurorack Case

Had some fun with the laser cutter at work. 
First made a custom front panel for a Synthrotek Echo a few weeks ago:


I've also been planning (in my head) on building a custom case using laser cut acrylic. 
Bought some Tip Top Z-rails and made this 12u 84hp beauty. Still waiting on one more set of z-rails and another uZeus.
I'll post the Illustrator files I used to make the case. The acrylic panels lock together with finger slots and some acrylic glue. I made the box using http://www.makercase.com/


Eurorack Patch

Recorded this patch after neglecting the eurorack for a bit too long.

Miselu C.24

After a very long wait with understandable delays in Miselu's manufacturing, I finally got my C.24!
The unit feels like quality for what it is: a collapsable keyboard iPad case. 
The keys feel really sturdy and the action is surprisingly nice! 
I tried it with my iPad 2 but got an error saying my iPad doesn't have BLE.
Tried it with my iPhone 5s and it worked amazingly well; no noticeable latency or any issues.
The transpose optical sensor on the left side works really well and the mod wheel on the left works equally well. Using Apple's Garageband, I was able to have some fun playing some blues with the electric piano setting. 
Might be time to shop around for an iPad 4. My hope is to hook it up to an iPad hooked up to Keith McMillan's QuNexus with CV outs to control my modular wirelessly.